As more and more businesses are adopting cloud-based solutions for their email and communication needs, migrating from traditional email clients like Microsoft Outlook to cloud-based platforms like Office 365 has become a common requirement. If you have been using Microsoft Outlook with a PST (Personal Storage Table) file to store your email data and want to move to Office 365, you’ll need to convert your email from PST to Office 365 format. In this article, we will explore the method to convert email from PST to Office format in detail.
Why Convert Email from PST to Office 365 Format?
There are several reasons why you might need to convert email from PST to Office 365 format:
- Cloud Migration: Office 365 is a cloud-based platform that offers a wide range of features for email, communication, and collaboration. By migrating your email data from PST to Office, you can take advantage of the benefits of cloud computing, such as improved accessibility, scalability, and cost savings.
- Unified Email Management: Office 365 provides a unified email management platform that allows you to access your emails, contacts, calendar, and other data from anywhere, at any time, and from any device. By converting your email from PST to Office format, you can centralize your email data and streamline your email management processes.
- Collaboration and Productivity: Office 365 offers a range of collaborative tools that can enhance productivity and efficiency for your team. By converting your email from PST to Office format, you can leverage features such as shared calendars, real-time document collaboration, and team communication tools to improve collaboration and productivity within your organization.
Method to Convert Email from PST to Office 365 Format with the tool
If you’re looking for a more efficient and user-friendly method to convert email from PST to Office format, you can consider using a specialized third-party tool. There are several PST to Office 365 migration tools available in the market that can simplify the process and ensure a smooth transition. Here’s a general outline of the steps involved in using a tool for conversion:
Step 1: Choose a Reliable PST to Office 365 Migration Tool
There are various PST to Office 365 migration tools available, so it’s essential to choose a reliable and reputable tool that meets your specific requirements. Look for features such as data integrity preservation, ease of use, robust security measures, and good customer reviews.
Step 2: Install and Launch the Tool
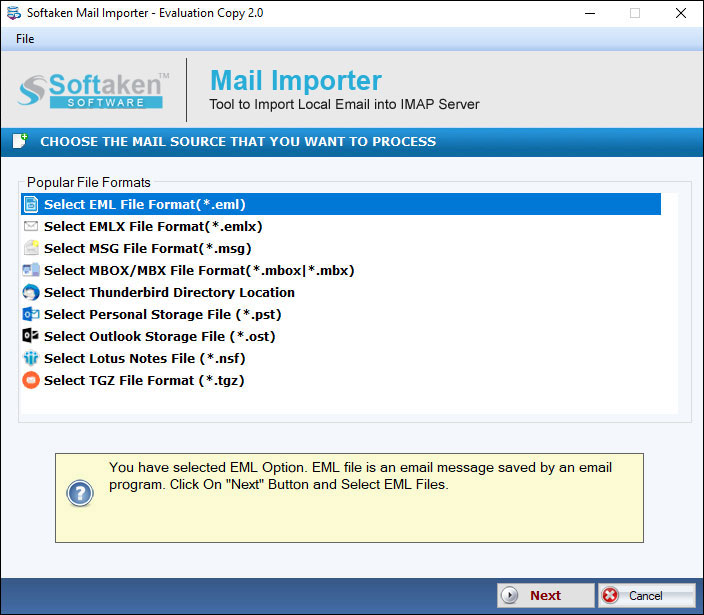
Once you’ve chosen a Softaken PST to Office 365 migration tool, install it on your computer and launch it.

Step 3: Connect to Office 365
Next, you’ll need to connect to your Office 365 account using the tool. This typically involves providing your Office 365 credentials and granting the necessary permissions for the tool to access and migrate email data.
Step 4: Select PST File for Migration
After connecting to Office 365, you’ll need to select the PST file that you want to migrate. The tool will typically provide options to browse and locate the PST file on your local computer or network.
Step 5: Configure Migration Settings
Once the PST file is selected, you can configure the migration settings using the tool. This may include specifying the target Office 365 mailbox or mailboxes and choosing migration options such as migration type (full or incremental).
Step 6: Start the Migration Process
Once you’ve configured the migration settings, you can start the migration process using the tool. The tool will typically begin extracting email data from the PST file and transferring it to the specified Office 365 mailbox(es). The time required for the migration will depend on the size of the PST file and the speed of your internet connection.
Step 7: Verify and Complete the Migration
After the migration process is complete, the tool will typically provide a summary report that displays the status and results of the migration. If everything looks good, you can complete the migration process using the tool.
Read More: Backup Office 365 Mailboxes to PST in MS Outlook
Conclusion
Using a specialized tool can simplify the task and ensure a smooth transition. When choosing a PST to Office migration tool, it’s crucial to select a reliable and reputable tool that meets your specific requirements. Follow the steps provided by the tool carefully to ensure accurate and secure migration of your email data. With the right tool.
Also Read : Divide A Large PST File