


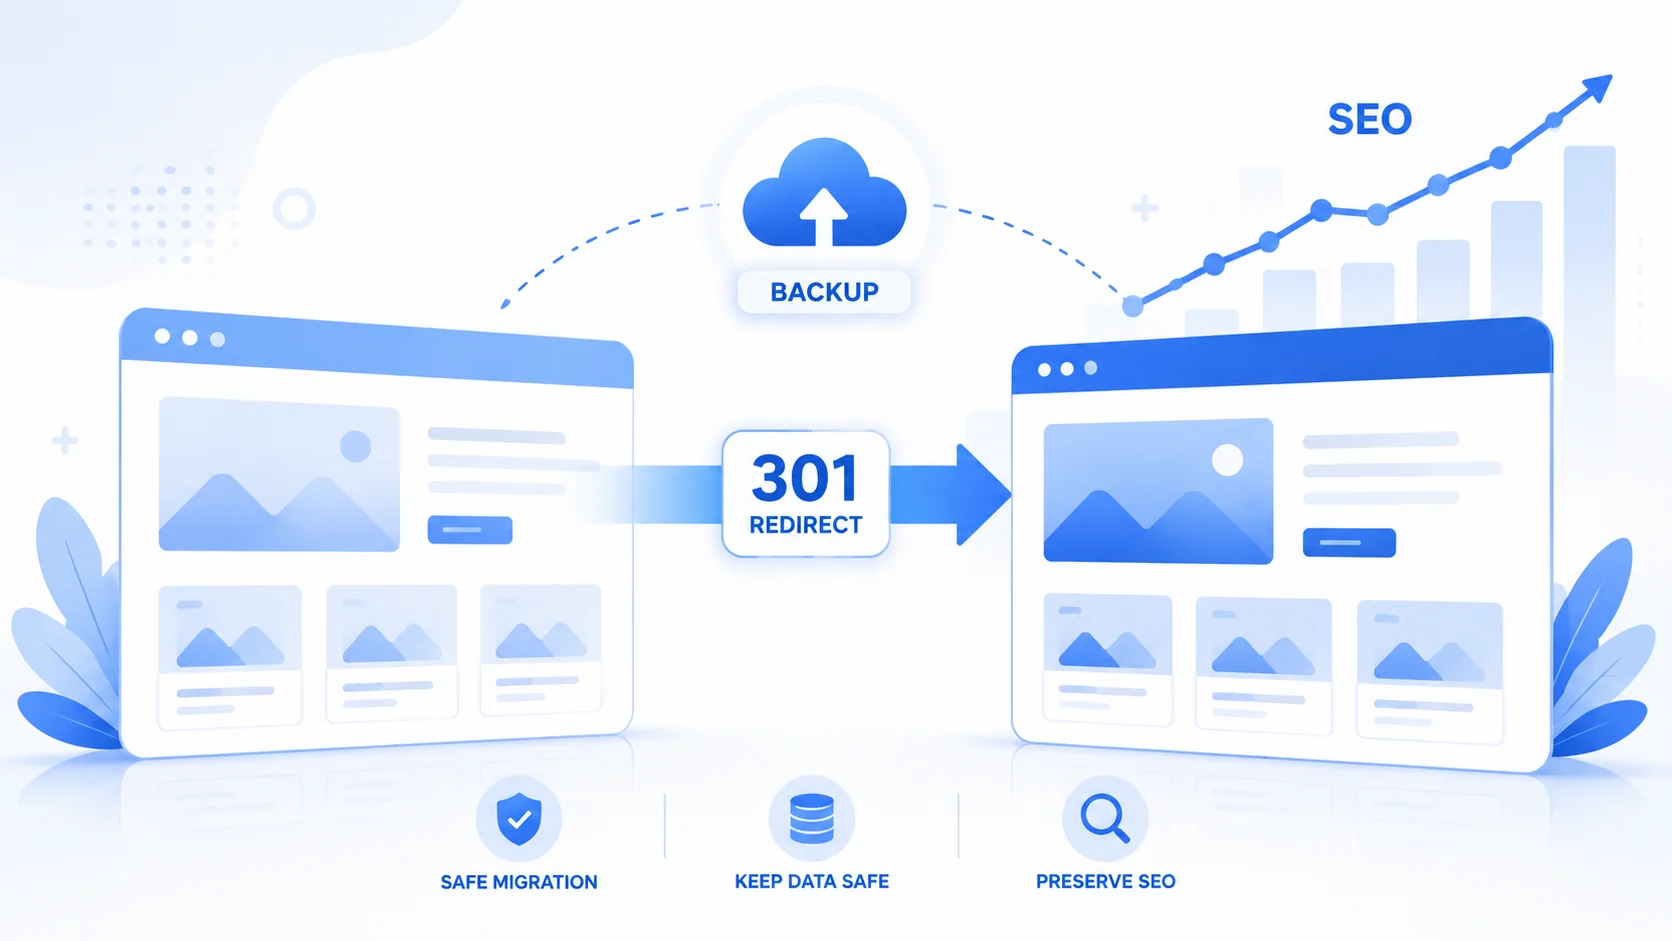
Every website eventually outgrows itself. Maybe you’re moving from a page builder to WordPress, switching hosts, merging two sites into one, or just giving an old design a long-overdue refresh. Whatever the reason, the moment you touch your site’s structure, you’re taking on risk — and most site owners don’t realize how much until traffic quietly drops a few weeks later.
The good news: nearly all of that risk is avoidable with the right prep work. Here’s a practical, non-technical walkthrough of how to migrate or redesign your site without handing your rankings to a competitor.
Why Migrations Go Wrong
According to Search Engine Journal, a normal post-migration dip in organic traffic typically runs 10–30% as Google recrawls and re-evaluates the changes. Mismanaged migrations, on the other hand, can trigger what the publication calls a “hangover” — a drop of 50% or more that can take months to recover from.
The gap between those two outcomes almost never comes down to bad luck. It comes down to whether redirects were mapped, whether content was actually preserved, and whether anyone checked the new site before it went live. Google itself publishes detailed guidance on this exact process, and most of the traffic loss teams experience traces back to skipping a step that’s already documented for free.
Step 1: Audit Your Current Site Before You Touch Anything
Before you migrate a single page, get a full picture of what you currently have:
- A list of every live URL (a free crawler like Screaming Frog’s lite version works for smaller sites)
- Your top-performing pages by traffic and conversions
- Existing meta titles, descriptions, and structured data
- Current backlinks pointing to specific pages
- Any pages currently ranking on page one for valuable keywords
This audit becomes your checklist later — you can’t confirm anything survived the move if you never documented what existed beforehand. It’s tempting to skip this step when you’re excited about a new design, but it’s the single cheapest form of insurance in the entire process, and it usually takes less than an afternoon even for a mid-sized site.
If manual auditing feels overwhelming, it’s worth pairing it with an automated pass — EdTechReader has a good breakdown of how AI tools can help identify gaps in website performance that a quick manual look might miss, from uneven page load times to sections quietly underperforming.
Step 2: Back Up Everything, Not Just Your Database
Most CMS platforms make it easy to export your database, but that’s only half the site. The rendered HTML, CSS, JavaScript, images, and theme files often get forgotten — which becomes a real problem if you’re switching platforms rather than just updating your current one, since a database export won’t mean much on a system that can’t read it.
If you’re moving between fundamentally different platforms (say, a page builder to WordPress, or archiving a legacy site before a rebuild), it helps to have a clean snapshot of the actual front-end. Your CMS’s native export tool is the first place to check. For sites without a good built-in option, a website capture tool such as WebCloner can pull the HTML, CSS, JavaScript, and other publicly accessible assets of a site you own or manage into a downloadable ZIP (with WordPress and Blogger import options), which is handy insurance before any structural change — and a time-saver for agencies handling several client migrations at once.
Whatever method you use, keep at least one full backup somewhere outside your hosting account — a separate cloud drive, an external service, or local storage. If the migration goes sideways, this is what lets you roll back without panic, and it’s worth testing the backup once before you actually need it, so you’re not discovering a corrupted file during an emergency.
Step 3: Map Every Redirect Before You Launch
This is the step most traffic loss traces back to. Every old URL that’s changing needs a 301 redirect to its new equivalent — not a blanket redirect to the homepage, which tells search engines the original page no longer exists rather than that it moved.
Build a spreadsheet with two columns: old URL, new URL. Go page by page, prioritizing anything that currently ranks or drives traffic. It’s tedious, but it’s the single highest-leverage task in the entire process. Google’s own site-move documentation recommends exactly this kind of one-to-one mapping, along with submitting an updated sitemap and using the Change of Address tool in Search Console for full domain moves — steps that are easy to skip under a launch deadline but expensive to fix afterward.
Step 4: Test in a Staging Environment First
Never migrate directly on your live domain. Build the new site on a staging URL, then run through it methodically:
- Click through every redirect to confirm it lands correctly
- Check that meta titles, descriptions, and schema markup carried over
- Look for orphaned pages with no internal links pointing to them
- Confirm the staging site itself is set to noindex so it doesn’t get crawled early
- Test on mobile as well as desktop, since layout issues often surface differently on each
Only push to the live domain once this checklist is clean. If you’re working with a developer or agency, ask them for a written confirmation that each item was checked rather than assuming it was — it’s a small ask that catches a surprising number of oversights.
Step 5: Watch Your Rankings Closely After Launch
Google doesn’t always react immediately. Rankings can hold steady for a few weeks before shifting, so don’t assume you’re in the clear just because week one looks normal. Keep an eye on Google Search Console for crawl errors, indexing issues, and sudden ranking movements for at least six to eight weeks post-launch, and fix anything that surfaces quickly rather than letting it sit.
It also helps to keep the old hosting or a full backup accessible during this window. Shutting everything down the day after launch removes your safety net right when you’d most want it.
Common Mistakes That Sink Migrations
- Redirecting every old page to the homepage instead of its actual replacement
- Forgetting to remove a “noindex” tag that was only meant for staging
- Launching without telling anyone who manages backlinks or partnerships about the new URLs
- Treating all pages as equally important, instead of protecting the handful that actually drive traffic
- Changing the domain, the platform, and the URL structure all at once, which makes it nearly impossible to diagnose what caused a drop if one happens
Final Thoughts
A website migration or redesign doesn’t have to be a gamble. The sites that come out the other side with their rankings intact are almost always the ones where someone did the unglamorous work first: auditing what existed, backing it up properly, mapping every redirect, and testing before launch. It’s a checklist problem, not a luck problem — and treating it that way is what separates a smooth relaunch from a traffic crash you’re still explaining to your boss six months later.